Creating a “Custom GPT” with Open Web UI
-
demodomain
- . February 18, 2025
TL;DR:
- Configure your RAG settings
- Set up a new Workspace with uploaded documents
- Set up a new Model, basing it on any model you already have in your models list
- Select that new model from your list
- Enjoy
Why pay $20 per month to OpenAI when you can do it for “free” using OpenWeb UI.
People say “free” a lot in the AI space. It’s not really free, unless run OWUI locally, and you have the time and skills to set it up.
Alternatively, it’ll cost you hosting somewhere like Digital Ocean – and the time to set it up, and then the cost of the API calls to whichever LLM you choose.
Anyway… here’s a very quick run-through on how to set it up. I don’t go into the details of RAG settings, or outline options depending on whether you’re running locally or paying for something like OpenAI. It’s very much a “quick start”…
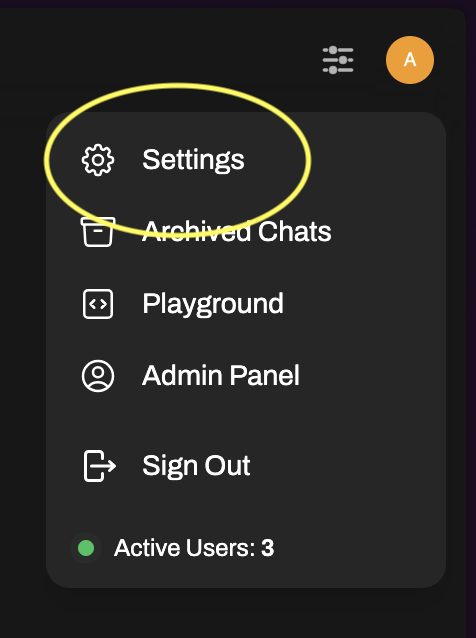
Click on your avatar icon in the top-right to get to your settings:
Select “Settings”
Select “Admin Settings”
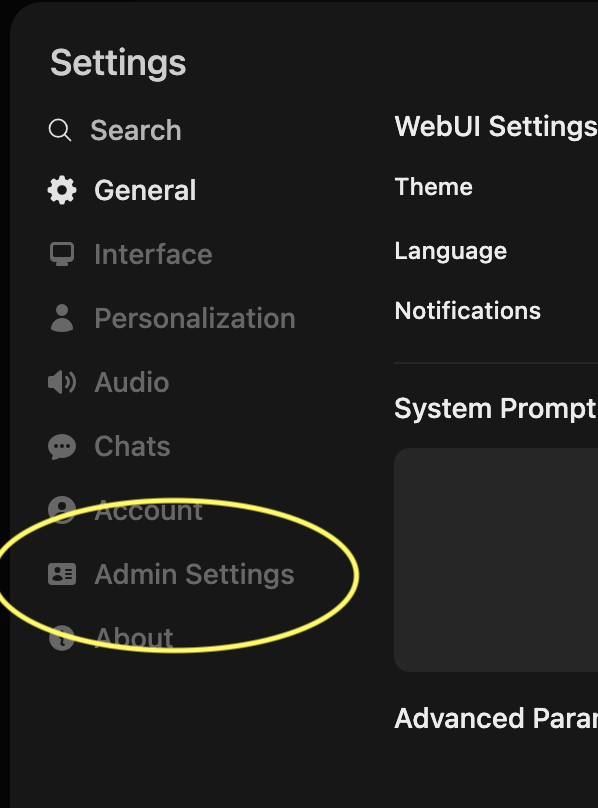
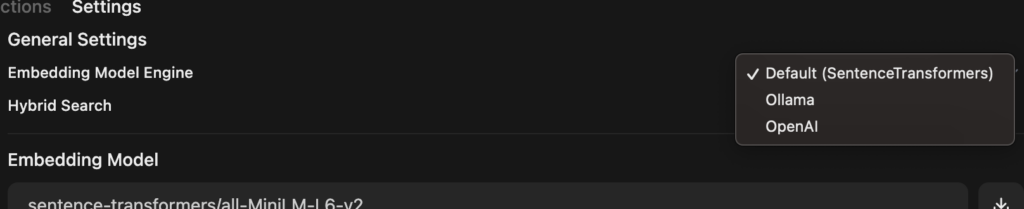
Click on “Documents”

Select the model you want to use for “Embedding Model Engine”
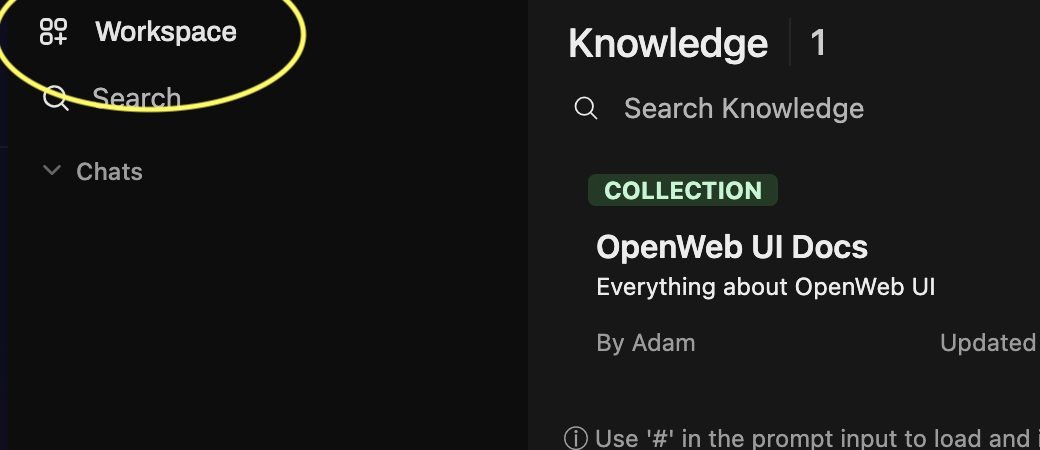
Go back to your Workspace

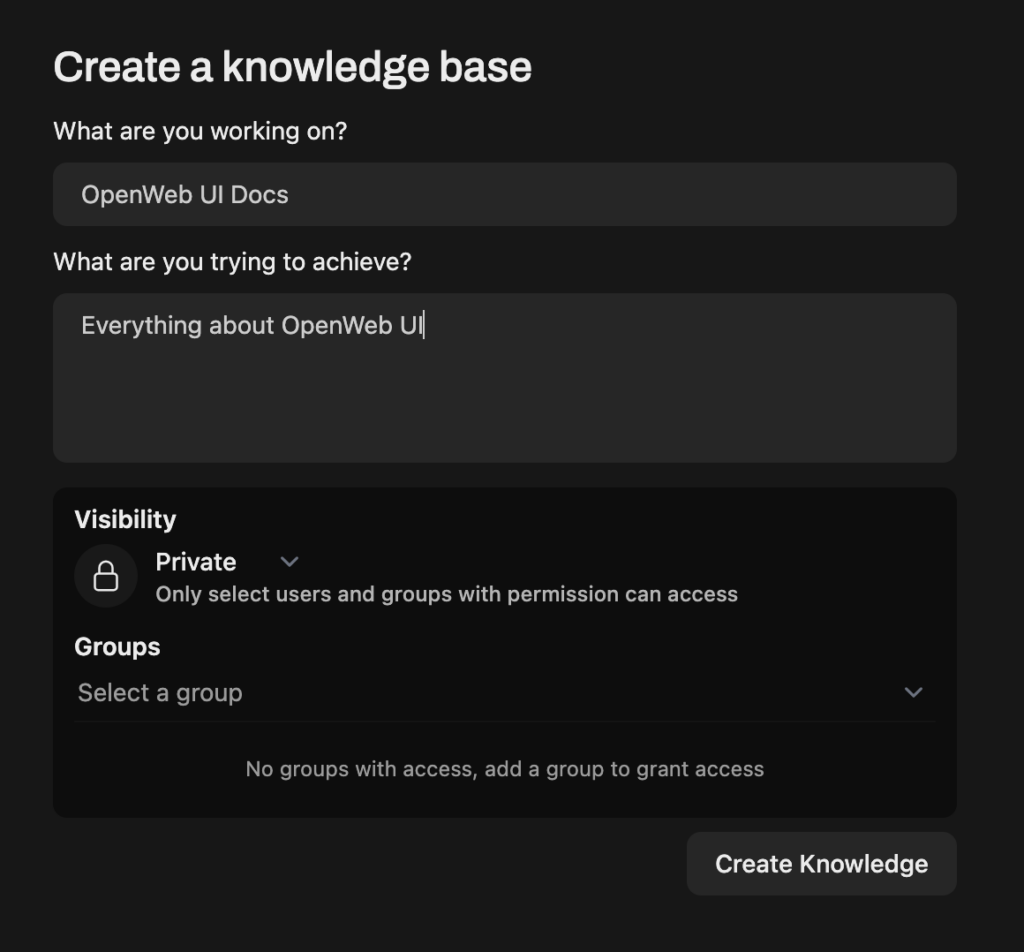
Click on “Knowledge” and then “+” icon to create a new knowledge base

Enter in the details
Drag and drop, or click on the “+” to upload documents
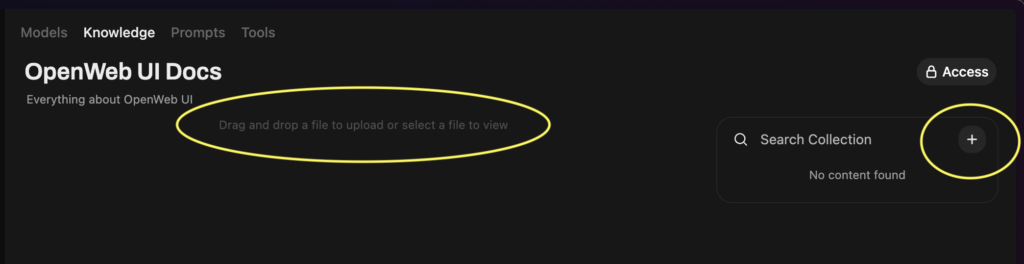
Congratulations – you now have a knowledge base

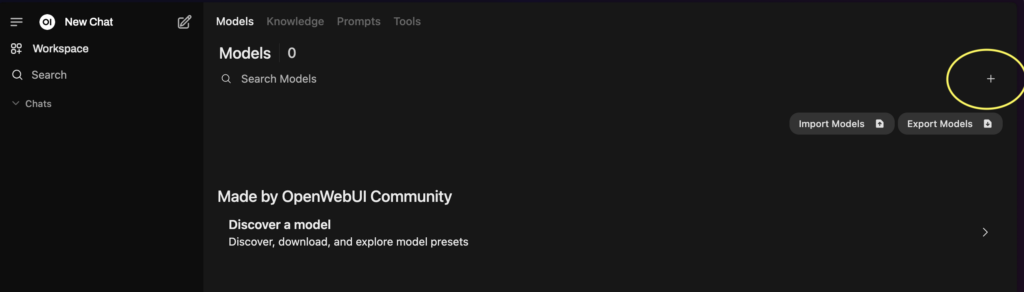
Click on Models and then the “+” icon to add a new model
You’ll be presented with this. The form is a little poor in terms of UX – finding the fields to edit takes a bit of squinting.
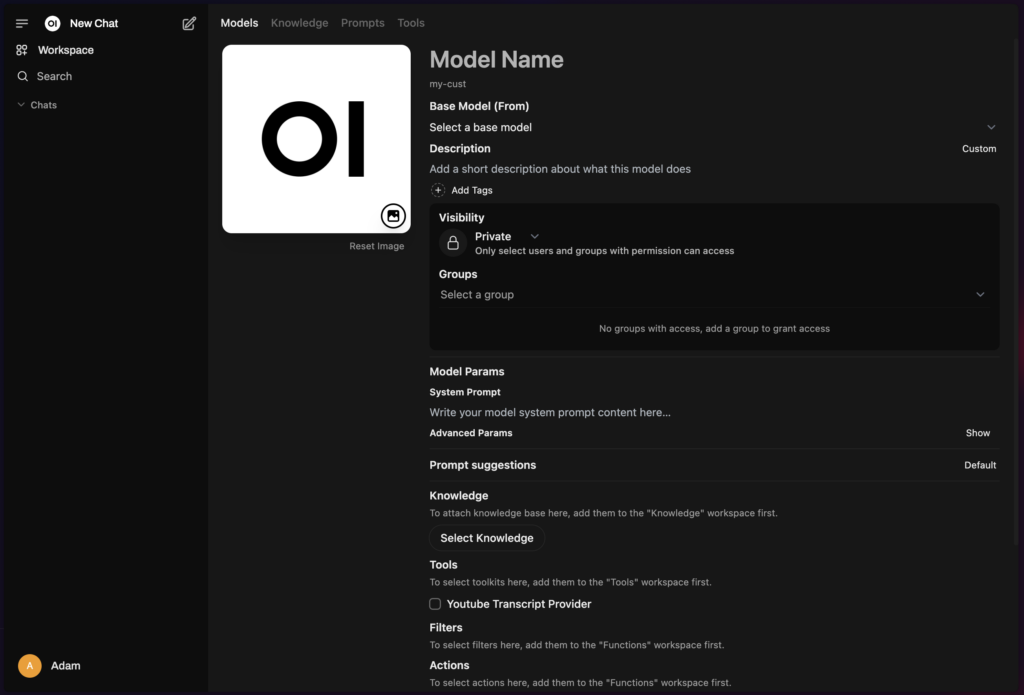
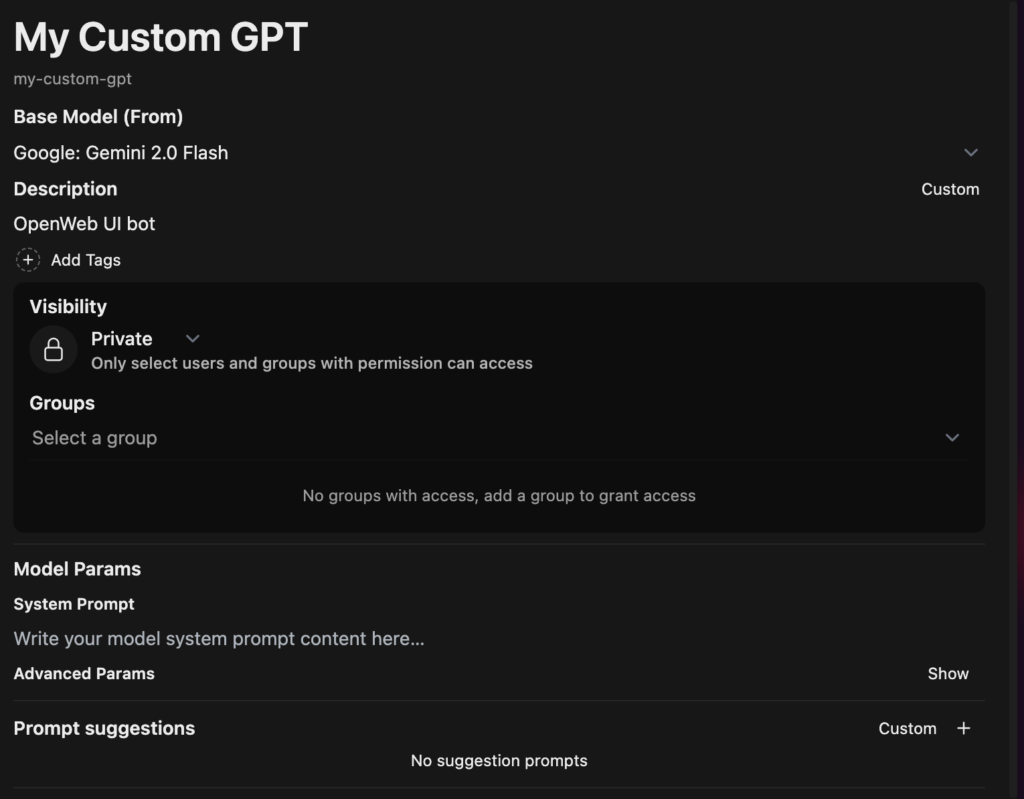
Give your model a name, select the base model, visibility, and run through all the other options as modify as you like.
IMPORTANT: Ensure you write out an appropriate system prompt including telling the LLM to use the provided documentation when answering questions and whether you also want it to use its general knowledge to answer questions.
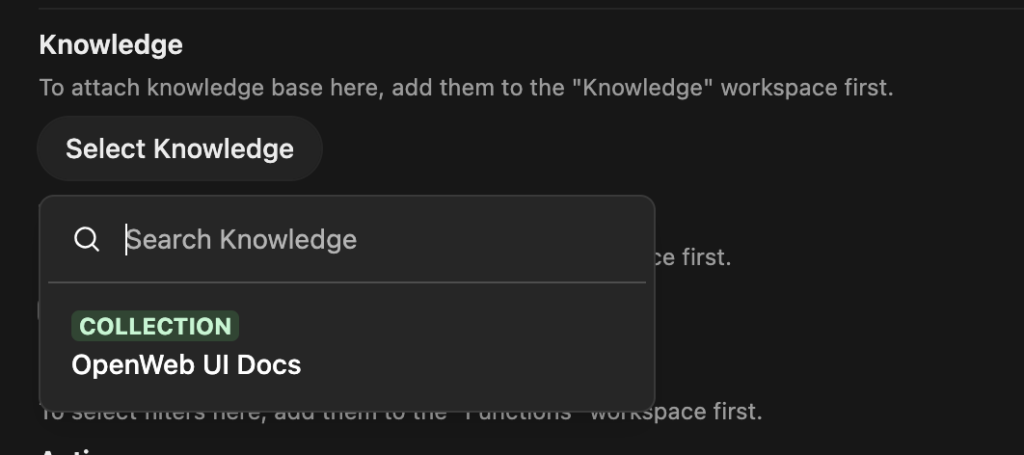
Select the knowledge base you created earlier
Congratulations – you now have a new model with attached knowledge base.
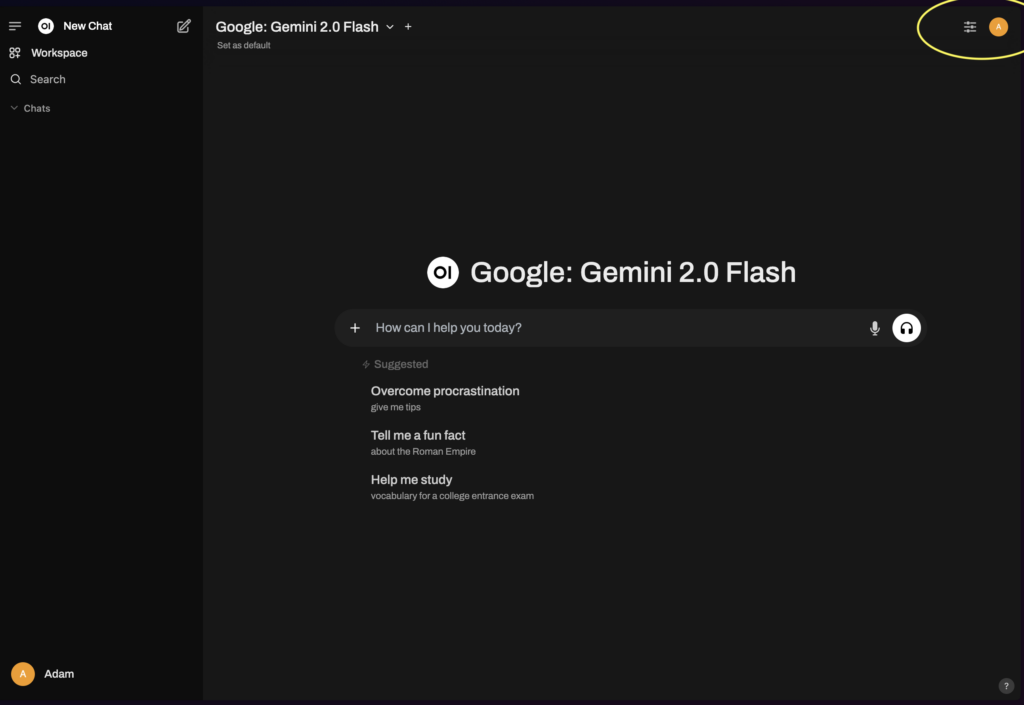
Click on New Chat
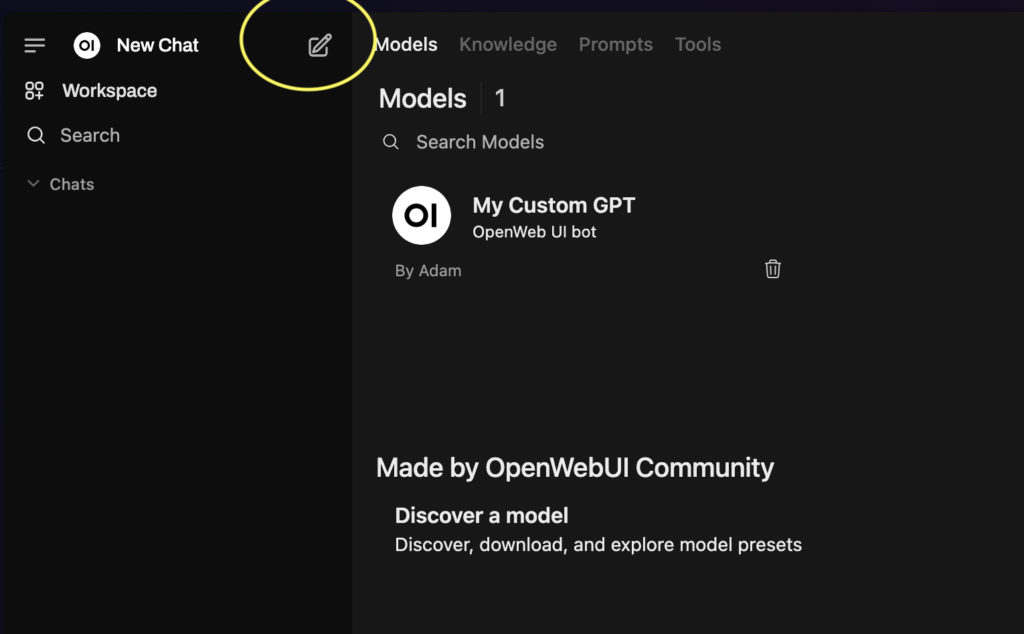
Select your new model
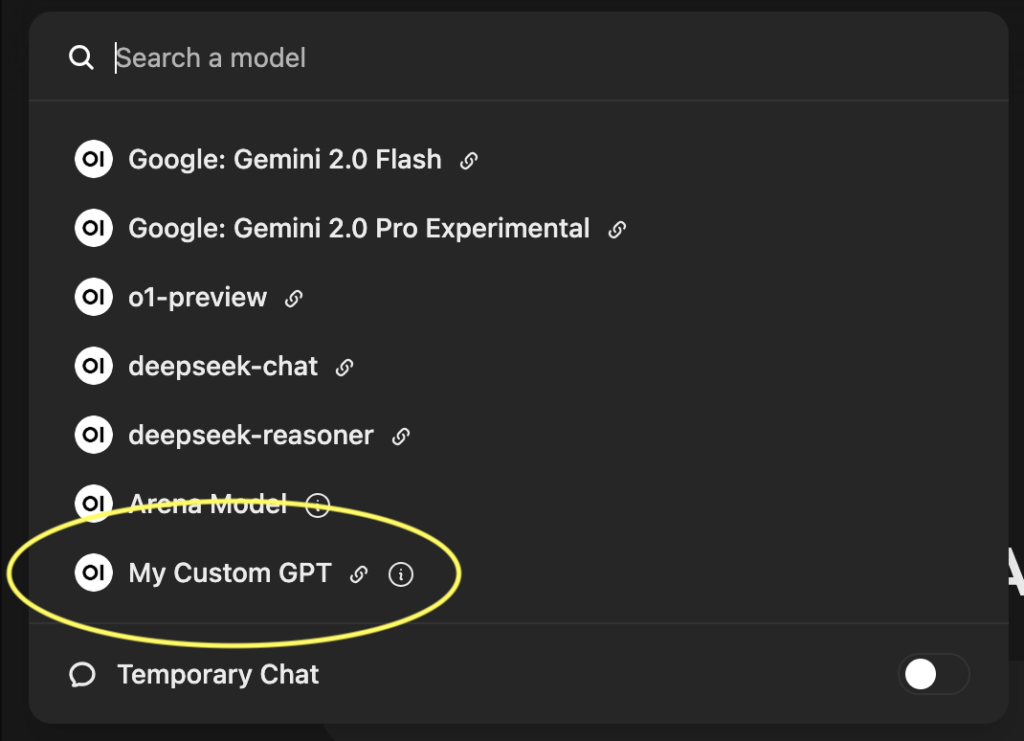
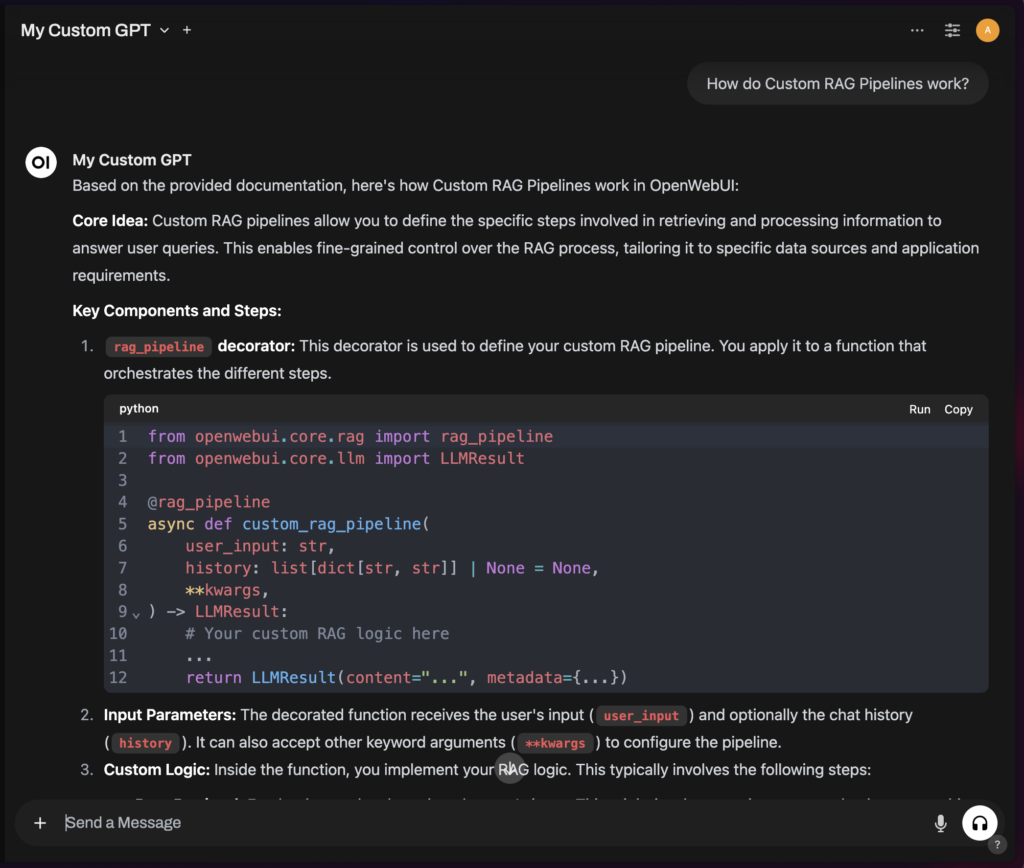
In this case I uploaded all the scraped documentation from the OpenWeb UI website, so I can ask it questions about OpenWeb UI


31 Comments